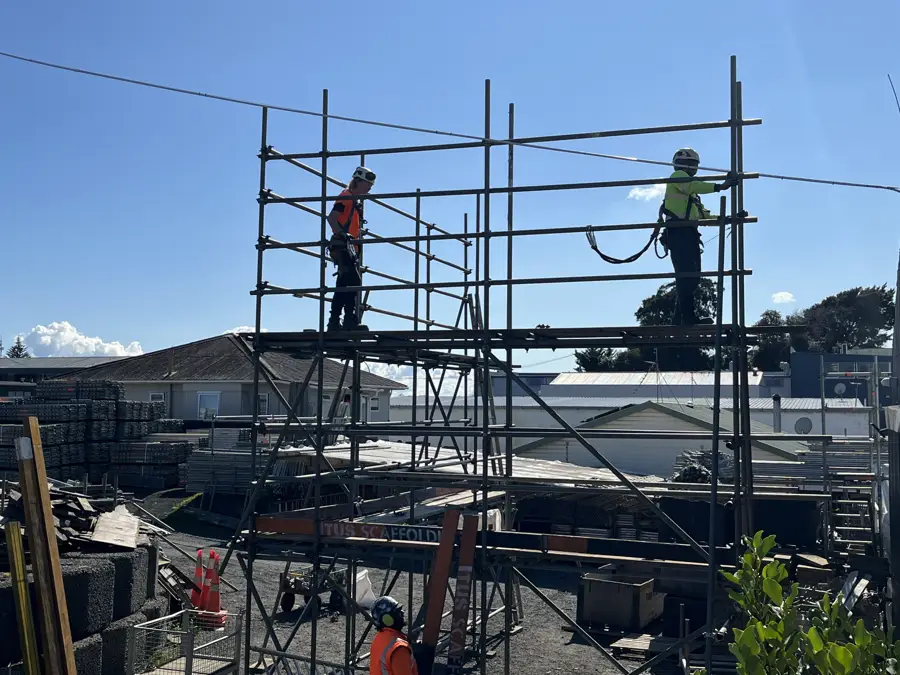
Part of our scaffolding guide.
What to point out in your enquiry
Uneven ground can mean a continuous slope, a step between surfaces or a series of obstacles beside the building. Show us where each change occurs relative to the wall or roofline that needs access. Tell us about soft ground, recent excavation and surfaces whose condition you are unsure about.
For home work, our residential scaffolding team considers ground conditions alongside rooflines, boundaries and household access. The information you send helps start that discussion; the responsible scaffold team determines the support arrangement.
A practical photo checklist
- Take a wide view. Include the whole elevation and the ground below it.
- Show the level changes. Photograph slopes, stairs, retaining walls and edges from a safe position.
- Capture different surfaces. Include lawn, paving, gravel, decks and any transitions.
- Show the approach. Photograph the route from the road or unloading area to the work.
- Label the views. Mark the building side and the work area on each photo or an accompanying plan.
Photograph from a safe, accessible position. Include plans or known site information if a surface, void or buried feature needs to be discussed.
Describe drainage and changes during the job
Tell us about areas that collect water, recent earthworks and any digging planned while the scaffold is in use. Include vehicle routes, material storage and nearby work that could change the ground conditions. A site photo records one moment; the programme explains what may change later.
For example, a repaint beside a sloping garden and a future drainage trench needs a coordinated brief. Show the painter’s work area and the proposed trench location, then discuss the sequence before the scaffold layout is settled.
Include the space around the scaffold
Point out neighbouring boundaries, public paths and entrances that must remain usable. Include decks, sheds, conservatories and retaining structures beside the building. Avoid assuming that a surface suitable for walking can support the proposed scaffold arrangement.
If roof work is planned above the area, our roofing access checklist connects the ground brief with roofline and material-movement information.
Leave support decisions to the responsible team
The scaffold arrangement needs to be designed and erected for the actual site and intended use. Do not improvise supports or alter a scaffold to make it fit a change in ground level. Contact the responsible scaffold team if the ground changes, a support is disturbed or the agreed access needs to move.
Record who is responsible for communicating changes before work starts. The quote comparison guide also helps you ask how site requirements and later alterations are reflected in the scope.
Your questions
Does a sloping site rule out scaffolding?
Send the site details so we can assess the access requirements. The ground, work area and proposed layout need to be considered together.
Should I prepare makeshift supports before you arrive?
No. Leave the support arrangement to the responsible scaffold team and discuss any site preparation with us first.